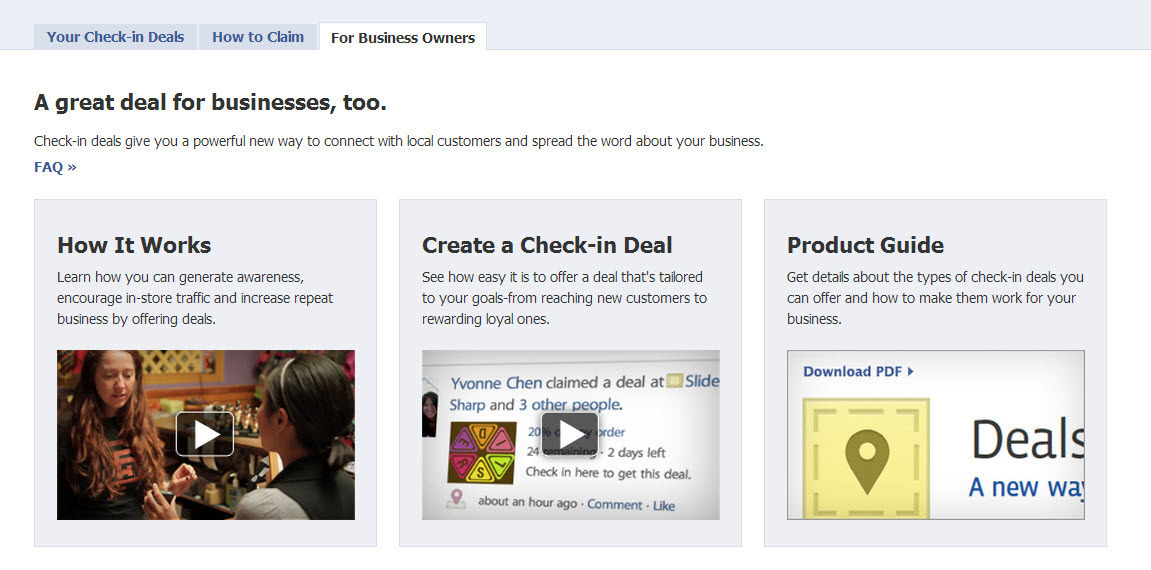
The first thing you’ll need to do is claim your optometry office in Facebook Places. First go www.touch.facebook.com on a mobile device—any smartphone or ipad should do. Go to “check in” and touch the plus sign (+). Fill out the information Facebook asks for.
Now when people are in the vicinity of your office, the name of your business will pop up in Facebook Places, and they have the option to “check-in” at your practice.
Now you will have to claim your business as the owner. To do this, go to Facebook.com and log-in to your Fan page. Do a search in the search bar for your business. Click on the “Place” version of your business, not your fan page. Once you’re looking at the Facebook Place profile for your business, there will be a link at the bottom that says “is this your business?” Click that link and check the box at the bottom. To prove that it is your business, you then fill out the information it prompts you to answer.
Once your Facebook Place has been claimed by you as the owner, you will be able to manage your place’s address, contact info, business hours, profile picture, admins, and other important settings. Once all your information is updated and you’re ready to create a deal, you can then login to your Place and click “edit page” on the upper right hand side. Then look at the left hand tabs—look for the tab that says “deals” and click it.
Choose which kind of deal you want to create. Keep in mind you can only run one type of deal at a time.
- Think about running a highly valuable deal to generate the buzz you’re looking for. Maybe you’ll offer 25% off a pair of glasses to a new or existing patient who checks-in at your office from their mobile phone using the Individual Deal option.
- Loyalty deals are another type of deal you can promote to keep your patients coming back. You could offer them a 30% discount off a pair of sunglasses if they check-in to your office 3 times. Loyalty deals are a good solution to the “one-and-done” problem with social deals where customers visit once to use a coupon and then never coming back because in order to receive their discount, they have to check-in to your office location multiple times.

Once you’ve chosen what kind of deal you want to create and have filled out the details, choose the duration of the deal you’re running and the quantity of deals you will fulfill. Then click “Create Deal”.
Your deal will then be evaluated by Facebook over the next couple of days. They will send you a message confirming the details of the deal.
Once your deal is approved by Facebook, you will be able to start promoting it. You can do this several ways—for example, Facebook makes it easy for you to post a status on your Facebook Page or Place alerting your followers of the deal you’ve created. You can run a Facebook add, send out an e-mail to your contact list, and put up signs at your office location.
Now that you’ve created a Facebook deal, remember to pass on the details of the deal to your employees to be sure all deals are honored properly.


